
Set Up and First Print
Needless to say I was super excited to set up the printer and start playing with it. I read the directions at home and figured out a good place to set up the printer in my classroom. I knew I needed a place where it was visible but not distracting and on a surface that was level and wouldn’t get bumped which could mess with the calibration.
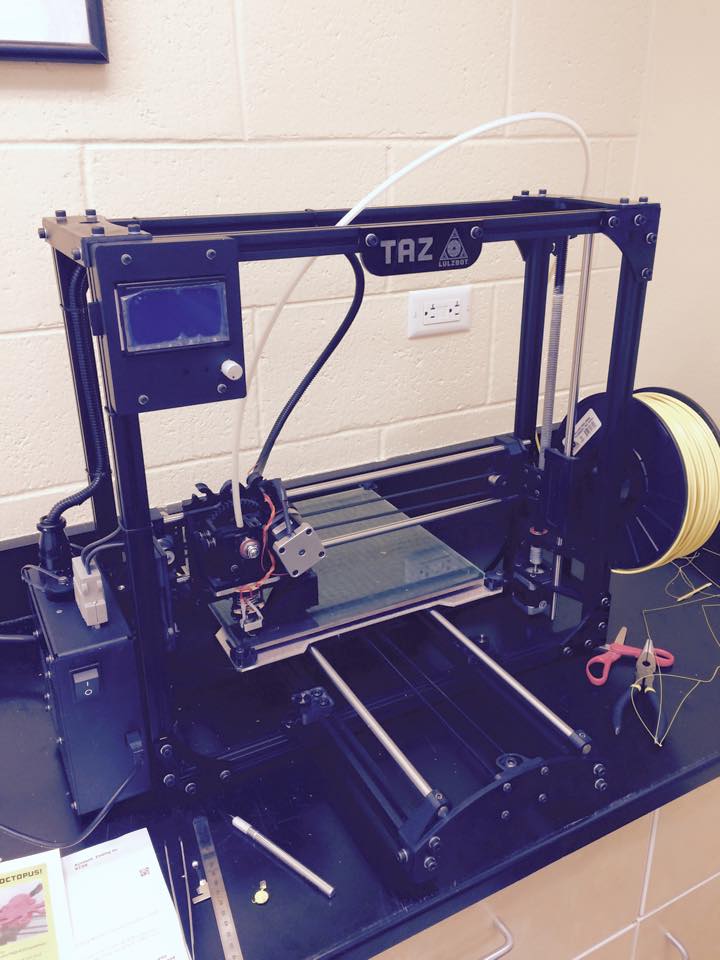
I found a corner near the area in my classroom I dedicated to my “FAB LAB” Maker Studio. The printer fit perfectly, there was an outlet nearby and the printer would be in a place where students could access it if they were going to print, but out of the way so class could run without it being a huge distraction – I still have to teach science content after all.
I started setting up the printer at 9:30 and was done by 11:30 – I wanted to make sure that everything was calibrated and that I had read everything before I started printing.
I did have to call customer support twice before I started printing successfully.
The first time I called was because I wasn’t sure of the voltage setting. I didn’t want to plug the printer in an then have it explode because I didn’t have the settings correct. I called the number listed on the directions and spoke to a REAL LIVE PERSON!! The support person, Brent, was very helpful and didn’t make me feel stupid with all of my questions.
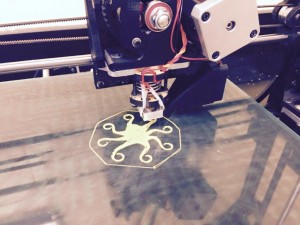
The second time I called (and again spoke with Brent) was because I was having trouble with the settings. I decided to use ABS filament and although the directions told me the temperatures, I was having trouble with getting the filament to stick to the bed. Brent gave me suggestions to help with my problem and I ended up using a gluestick to help get the first layer of filament to stick. Apparently hairspray and Acetone work too – but all I had on hand were gluesticks so I decided to try that.
After taking a break I was ready to print. I downloaded an octopus from the Lulzbot site and started my first print at 2:00 –
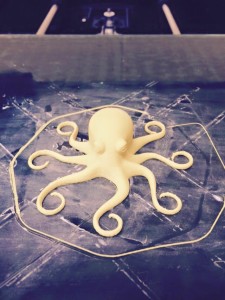
This is my finished product – about 2 hours later. Not bad for my first print.
…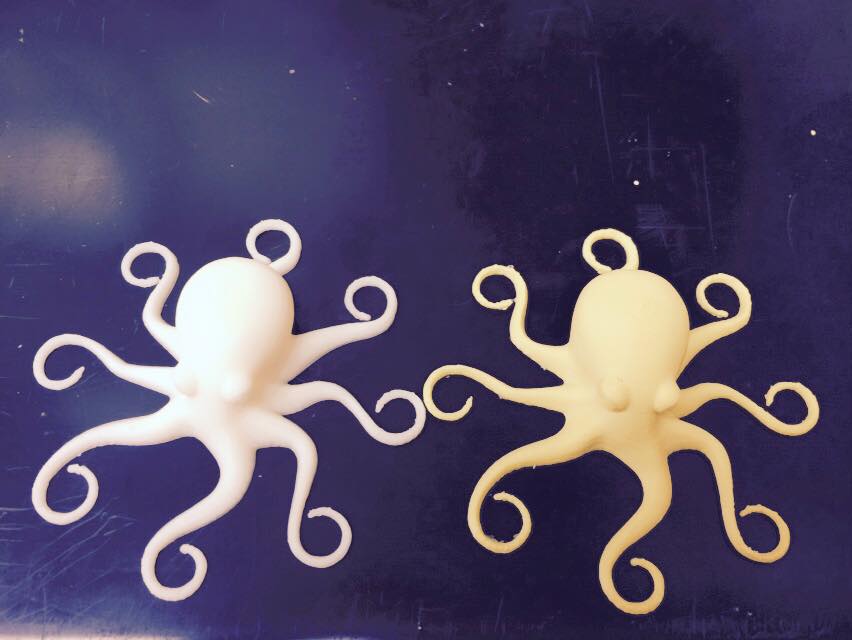 My octopus (right) compared to the test octopus (left).
Here are some videos of the printer in action.